Level Up Your Frontend: Build an Interactive Shopping Cart with JavaScript
Go beyond basic tutorials. Learn intermediate JavaScript by building a dynamic shopping cart.

Hey there, frontend enthusiasts! Welcome back to our "Learning by Doing" series. If you're here, you've already moved past the "Hello World" stage and are ready to tackle more realistic, interactive features. In the first post, we leveled up our skills by building a dynamic product filter.
Now, let's tackle a cornerstone of modern e-commerce: the interactive shopping cart.
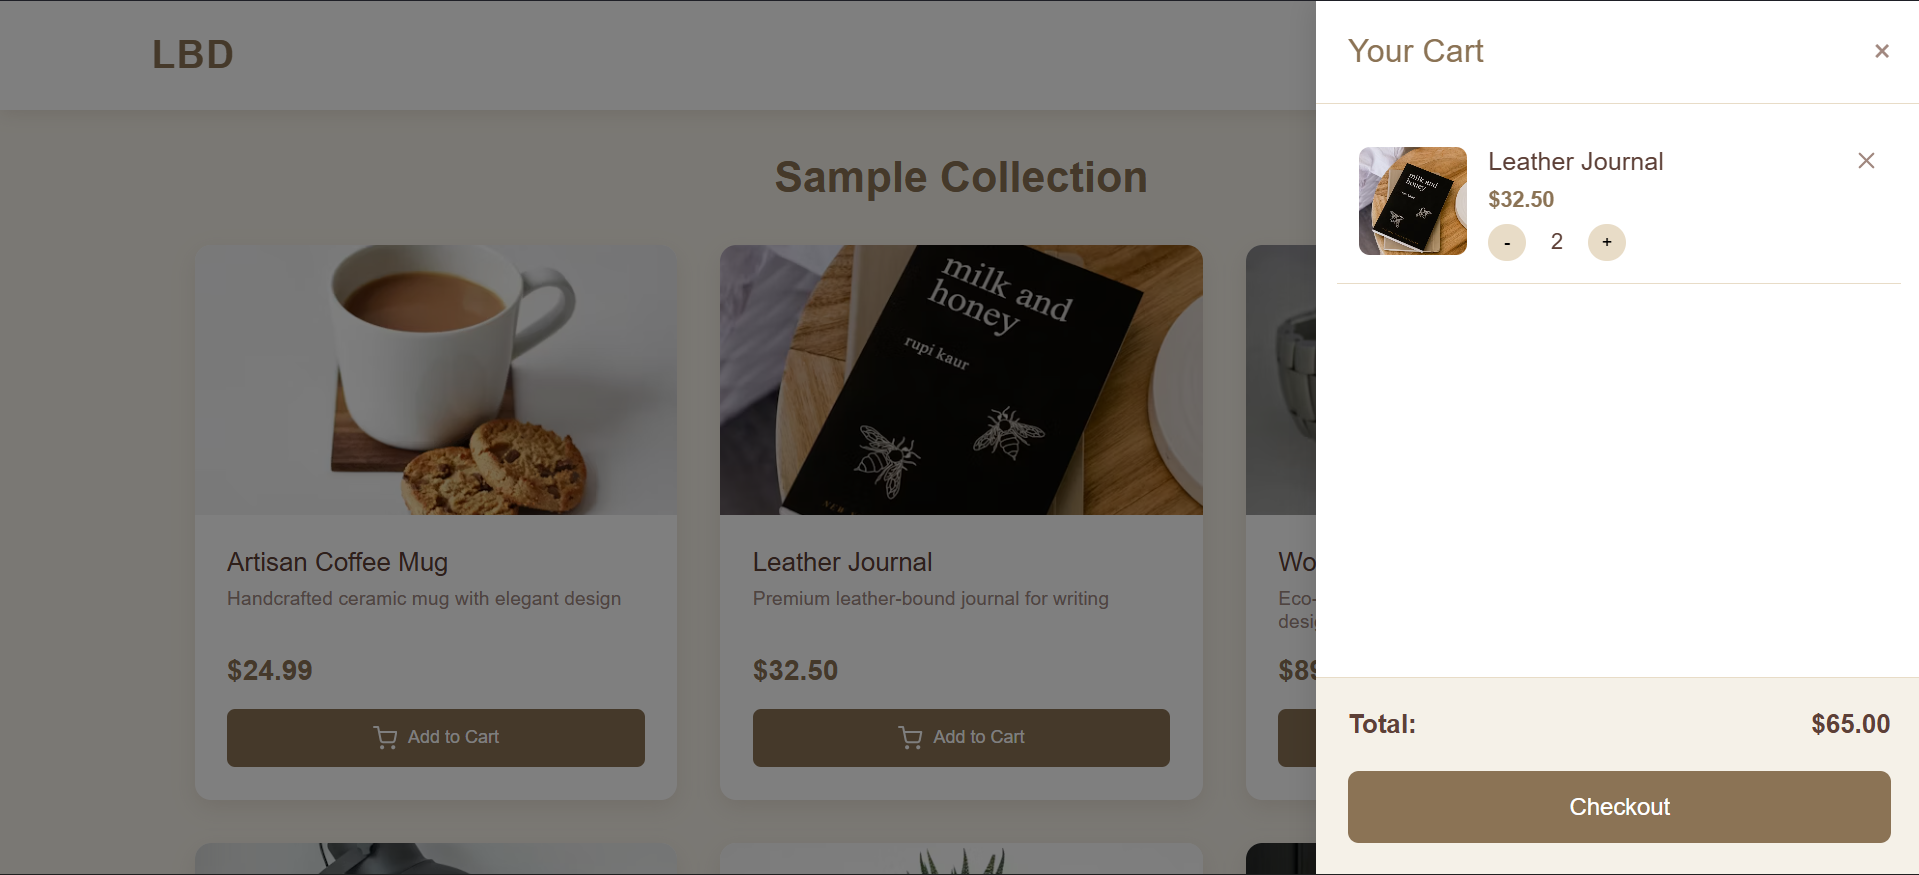
This isn't just about adding and removing items. We're going to build a cart that handles quantity changes, dynamically calculates totals, and provides immediate user feedback. It's a fantastic project to solidify your understanding of application state, DOM manipulation, and event handling.
What You'll Learn & Practice
By the end of this hands-on session, you will have built a cart that:
Manages Complex State: The cart will be an array of objects, each holding product details (ID, name, price, quantity).
Dynamically Updates the UI: Any change to the cart state (add, remove, change quantity) will be instantly reflected on the screen without a page reload.
Uses Event Delegation: Efficiently handle events for multiple "Add to Cart" buttons and quantity controls.
Performs Real-time Calculations: Automatically recalculate subtotals, tax, and the final total whenever the cart changes.
Provides User Feedback: Show a confirmation when an item is added.
The Blueprint: Our Project State
Before we dive into code, let's plan our state. The state is the single source of truth for our application—in this case, the shopping cart itself.
// This array represents our cart. It starts empty.
let cart = [];

// Each item added to the cart will be an object like this:
{
  id: 1,          // Unique product identifier
  name: "Product A",
  price: 19.99,
  quantity: 1
}
Let's Build It! The HTML Foundation
We'll set up a simple product list and a cart sidebar. We use semantic HTML where possible and lean into data-* attributes to link our HTML elements to our JavaScript logic—a crucial intermediate technique.
<!DOCTYPE html>
<html lang="en">
<head>
    <meta charset="UTF-8">
    <meta name="viewport" content="width=device-width, initial-scale=1.0">
    <title>Interactive Shopping Cart</title>
    <link rel="stylesheet" href="style.css">
</head>
<body>
    <main class="container">
        <section class="products">
            <h2>Our Products</h2>
            <div class="product-list">
                <div class="product-card" data-id="1" data-name="Cool T-Shirt" data-price="24.99">
                    <h3>Cool T-Shirt</h3>
                    <p class="price">$24.99</p>
                    <button class="btn-add">Add to Cart</button>
                </div>
                <div class="product-card" data-id="2" data-name="Awesome Mug" data-price="14.99">
                    <h3>Awesome Mug</h3>
                    <p class="price">$14.99</p>
                    <button class="btn-add">Add to Cart</button>
                </div>
                <!-- Add more products as needed -->
            </div>
        </section>

        <aside class="cart-sidebar">
            <h2>Your Cart</h2>
            <div class="cart-items">
                <!-- Cart items will be dynamically inserted here by JavaScript -->
            </div>
            <div class="cart-totals">
                <p>Subtotal: $<span id="subtotal">0.00</span></p>
                <p>Tax (10%): $<span id="tax">0.00</span></p>
                <p><strong>Total: $<span id="total">0.00</span></strong></p>
            </div>
        </aside>
    </main>
    <script src="script.js"></script>
</body>
</html>
The JavaScript Engine: State & Functionality
This is where the magic happens. We'll break it down into focused, reusable functions. This modular approach is a key intermediate skill.
// 1. The State
let cart = [];

// 2. DOM Elements
const cartItemsContainer = document.querySelector('.cart-items');
const subtotalEl = document.getElementById('subtotal');
const taxEl = document.getElementById('tax');
const totalEl = document.getElementById('total');

// 3. Core Function: Add to Cart
function addToCart(productId, productName, productPrice) {
    // Check if the item is already in the cart
    const existingItem = cart.find(item => item.id === productId);

    if (existingItem) {
        // If it exists, increase the quantity
        existingItem.quantity += 1;
    } else {
        // If not, add the new item to the cart array
        cart.push({
            id: productId,
            name: productName,
            price: parseFloat(productPrice), // Ensure it's a number
            quantity: 1
        });
    }

    // Update the UI to reflect the new state
    renderCart();
    showFeedback(`${productName} added to cart!`);
}

// 4. Core Function: Remove from Cart
function removeFromCart(productId) {
    // Filter out the item with the matching ID
    cart = cart.filter(item => item.id !== productId);
    renderCart(); // Re-render the cart
}

// 5. Core Function: Update Quantity
function updateQuantity(productId, newQuantity) {
    if (newQuantity < 1) {
        removeFromCart(productId);
        return;
    }

    const item = cart.find(item => item.id === productId);
    if (item) {
        item.quantity = newQuantity;
        renderCart();
    }
}

// 6. The Most Important Function: Render the Cart UI
function renderCart() {
    // Clear the current cart display
    cartItemsContainer.innerHTML = '';

    let subtotal = 0;

    // Loop through each item in the cart state and create its HTML
    cart.forEach(item => {
        const itemTotal = item.price * item.quantity;
        subtotal += itemTotal;

        const cartItemEl = document.createElement('div');
        cartItemEl.className = 'cart-item';
        cartItemEl.innerHTML = `
            <div class="item-info">
                <h4>${item.name}</h4>
                <p>$${item.price.toFixed(2)}</p>
            </div>
            <div class="item-controls">
                <button class="btn-quantity" data-id="${item.id}" data-action="decrease">-</button>
                <span class="quantity">${item.quantity}</span>
                <button class="btn-quantity" data-id="${item.id}" data-action="increase">+</button>
                <button class="btn-remove" data-id="${item.id}">Remove</button>
            </div>
        `;
        cartItemsContainer.appendChild(cartItemEl);
    });

    // Calculate and display totals
    const tax = subtotal * 0.10; // 10% tax
    const total = subtotal + tax;

    subtotalEl.textContent = subtotal.toFixed(2);
    taxEl.textContent = tax.toFixed(2);
    totalEl.textContent = total.toFixed(2);
}

// 7. Function: User Feedback
function showFeedback(message) {
    alert(message);
}

// 8. Event Delegation: The Brain of the Operation
document.body.addEventListener('click', function(event) {
    const target = event.target;

    // Handle "Add to Cart" clicks from product cards
    if (target.classList.contains('btn-add')) {
        const productCard = target.closest('.product-card');
        const id = productCard.dataset.id;
        const name = productCard.dataset.name;
        const price = productCard.dataset.price;
        addToCart(id, name, price);
    }

    // Handle "Increase/Decrease Quantity" and "Remove" clicks inside the cart
    if (target.classList.contains('btn-remove')) {
        const productId = parseInt(target.dataset.id);
        removeFromCart(productId);
    }

    if (target.classList.contains('btn-quantity')) {
        const productId = parseInt(target.dataset.id);
        const action = target.dataset.action;
        const item = cart.find(item => item.id === productId);

        if (item) {
            if (action === 'increase') {
                updateQuantity(productId, item.quantity + 1);
            } else if (action === 'decrease') {
                updateQuantity(productId, item.quantity - 1);
            }
        }
    }
});

// Initialize
renderCart();
Time to Practice: Your Challenge
The code above is fully functional, but here's how you can truly make it your own and level up:
Improve the Feedback: Replace the
alert()inshowFeedbackwith a custom toast notification that slides in and out.Persist the Cart: Use
localStorageto save the cart state. When the page loads, checklocalStorageand load the existing cart.Handle Empty State: If the cart is empty, show a message like "Your cart is empty" instead of just a blank space.
Add More Products: Style the product cards and cart items to look more professional.
See It in Action & Fork the Code!
I've put all this code together in a CodePen. Click through, see it work, and most importantly, fork it and start experimenting! This is where the real learning happens.
🔗 CodePen Reference: Shopping Cart - Frontend Learning by Doing
Conclusion
Congratulations! You've just built a complex, interactive feature that manages its own state and UI. You've practiced key concepts like:
State Management: Using an array of objects as a single source of truth.
Separation of Concerns: Keeping data logic (the
cartarray) separate from display logic (renderCartfunction).Event Delegation: Efficiently handling events for dynamic elements.
Data Attributes: Using
data-*attributes to store information in HTML for JavaScript to use.
This is a huge step forward. Keep practicing, break things, and fix them again. In the next post, we'll dive into fetching data from an API and handling asynchronous operations.
What did you find most challenging? What other features would you add? Let me know in the comments below!


